How to Build a Drone: Beginner Guide

*We may earn a commission for purchases made using our links. Please see our disclosure to learn more.
How to Build a Drone: The Ultimate DIY Guide for Beginners
Building your own drone might sound complicated, but honestly, anyone can learn how to build a drone with some patience and the right guidance. A basic quadcopter drone needs a frame, motors, electronic speed controllers, propellers, a flight controller, a battery, and a radio control system.
I’ve put together this guide to walk you through each step, from understanding what makes drones fly to getting your custom build off the ground.
DIY drone projects are a great way to learn about robotics, electronics, and flight systems while creating something that’s truly yours. You’ll probably save money compared to buying a fancy commercial model, and you’ll have total control over your drone’s features.
Whether you want a simple practice quad or a camera rig for aerial shots, the basics are pretty similar. I’ll guide you through planning your build, picking out the right parts, putting it all together, and getting the software set up.
You’ll get the hang of frame materials, motor specs, battery choices, and how to calibrate your flight controller. By the end, you’ll know how to build a drone from scratch and even how to upgrade it as you get better.
How to Build a Drone: Foundations
Building a drone means understanding how these little aircraft actually stay up and move through the air. The physics, various drone designs, and basic aerodynamic forces all play a part in keeping your drone stable and flyable.
Understanding Drone Physics and Flight Principles
Drones fly by balancing several forces at once. Motors spin propellers, pushing air down and creating the lift needed for flight.
I need to see how drone components work together to keep things stable. The flight controller processes sensor data constantly, adjusting motor speeds to keep the drone level or tilt it as needed.
Multi-rotor drones use opposite propeller spins to stay balanced. On a quadcopter, two props spin clockwise and two counterclockwise, canceling out unwanted rotation.
When you tilt a quadcopter forward, the rear motors speed up and the front ones slow down. That uneven thrust sends the drone in the direction you want. Same idea applies for backward, left, and right movement.
Drone Types: Quadcopter, Racing, and Fixed-Wing Designs
Quadcopters are the most common, with four motors in an X or plus pattern. I think quadcopters are efficient and easy to fly compared to other types. They’re stable and can carry cameras or gear.
Racing drones are basically souped-up quadcopters built for speed and agility. They use light frames and powerful motors, flying at sharp angles and reacting fast to your controls.
Fixed-wing drones look like little airplanes, using wings for lift. They fly forward all the time and can’t hover. These are great for covering distance or staying airborne for a while, but you’ll need space to take off and land.
Each design fits different needs, whether it’s for flight time, speed, or maneuverability.
Key Terminology: Thrust, Lift, Weight, and Drag
Thrust is the upward force from spinning propellers pushing air down. I add up the force from each motor to get total thrust. To fly, the drone needs more thrust than its weight.
Lift is what pushes the drone up against gravity. For multi-rotors, lift and thrust are pretty much the same thing. Fixed-wings get lift from air moving over their wings.
Weight is just gravity pulling down on everything—frame, motors, batteries, camera, all of it. Thrust has to beat weight for the drone to get off the ground.
Drag is air resistance that slows the drone down as it flies forward. Sleek shapes help reduce drag, which is why racing drones look so streamlined. More drag means more work for the motors and faster battery drain.
How to Build a Drone: Planning
Before grabbing parts and tools, it’s smart to figure out your goals and check the legal stuff. The drone market gives you a ton of options, from buying a ready-made drone to picking out every part yourself.
Defining Your Purpose and Applications
First, decide what you want your drone to actually do. Racing drones need lightweight frames, strong motors, and high speed. An aerial photography drone should be stable, have good battery life, and carry a camera.
If you’re just learning or flying for fun, you can keep things simple and budget-friendly. For racing, carbon fiber frames and high-performance parts are the way to go. For photography, GPS and gimbal systems are a big help.
Budget matters, too. A basic DIY drone kit might cost $200–$300, while building from scratch with top-notch parts can hit $500–$1,000 or even more. Don’t forget about tools like a soldering iron, screwdrivers, or a multimeter if you don’t already have them.
How to Build a Drone: Legal Considerations and Safety Guidelines
Check your local drone laws before flying. In the U.S., the FAA wants you to register drones heavier than 0.55 pounds. Most countries have similar rules about registration and where you can fly.
There are flight restrictions. No flying near airports, over crowds, or in restricted areas unless you have permission. Some places make you pass a test to become a certified drone pilot.
Safety’s important. Always keep your drone in sight. Stay below 400 feet in uncontrolled airspace—that’s the usual rule. Respect privacy, and don’t fly over private property without permission.
DIY Versus Pre-Built Drones and Kits
A pre-built drone is all about convenience. It’s ready to fly straight out of the box, which is great if you just want to get flying without messing with tiny wires and screws.
Drone kits are a nice middle ground. You get all the parts that fit together, so there’s less guessing about compatibility, but you still get to build it yourself. It’s a good way to learn without getting overwhelmed.
Building from scratch gives you total control over every component. You can pick motors, flight controllers, and frames that fit exactly what you want. It takes more research and know-how, but you’ll understand how everything works together.
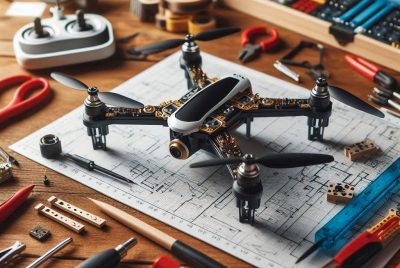
How to Build a Drone: Selecting Drone Components and Materials
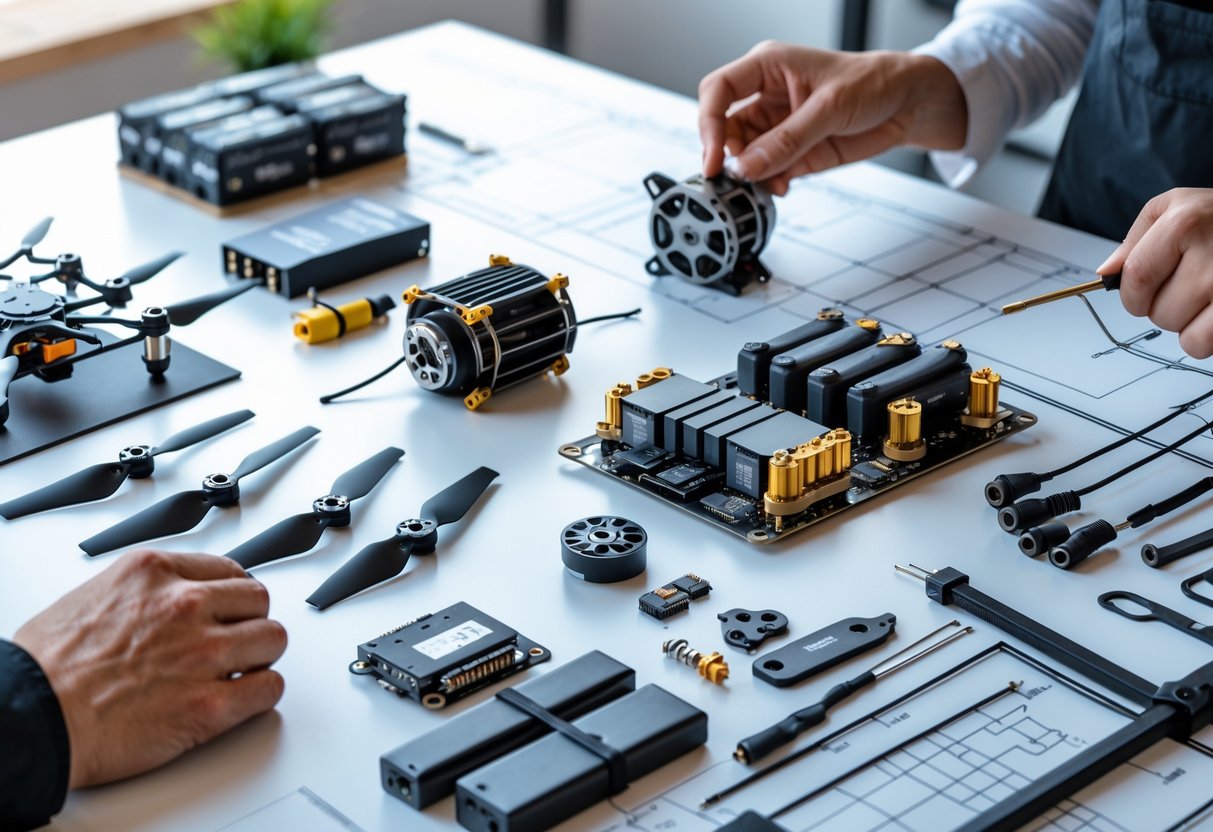
The frame is the backbone, holding everything together. Motors and propellers give you lift, the flight controller is the brain, ESCs handle motor speed, and the battery powers it all.
Choosing the Frame and Frame Materials
The frame needs to be strong enough for crashes but light enough to fly well. I usually go for carbon fiber—it’s tough and light, though pricier than plastic or aluminum. It also absorbs vibrations and resists bending better.
Frame size is measured diagonally from motor to motor. A 250mm frame is good for racing, while 450–550mm works better for camera drones. The frame arm orientation changes how your drone handles. X-shaped frames distribute power evenly and keep things stable.
Carbon fiber frames come in different thicknesses. I use 3mm arms for racing since they take more hits. For gentle flying, lighter 2mm arms are fine. Always check that the mounting holes match your motors and flight controller before buying.
Weight distribution is just as important as total weight. Keep the battery centered and heavy parts like the flight controller close to the middle. That makes the drone more responsive and easier to control.
Selecting Motors and Propellers
Brushless motors are the standard for drones. They last longer and pack more punch than brushed motors. Each one has a spinning rotor and a stator attached to the frame.
The KV rating tells you how fast a motor spins for each volt. High KV motors (2300–2600 KV) spin fast with small props—great for racing. Low KV motors (900–1400 KV) are better for bigger props on camera drones that need lifting power. I match the motor KV to what I want the drone to do and what size propeller I’ll use.
Motor size uses a four-digit code like 2205 or 2306. The first two numbers are the stator diameter (mm), the last two are the height. Bigger motors mean more thrust, but also more weight.
Propellers have to fit your motor and frame. A 5-inch prop works on a 250mm racing frame, while 10-inch or bigger props are for photography builds. Propeller pitch is how much air they move per spin—higher pitch means more thrust but needs more power.
Figure out your thrust-to-weight ratio by dividing total thrust by drone weight. I shoot for at least 2:1 for steady flight, and 4:1 or more for racing. Try different prop sizes to find the sweet spot between flight time and performance.
Flight Controller, ESCs, and Power Distribution Board
The flight controller takes in sensor data and constantly tweaks motor speeds—hundreds of times per second, actually. Most modern ones have gyroscopes and accelerometers to sense movement.
Personally, I stick with controllers that use at least an F4 processor for smoother flights. F7 chips are even better if you want to run extra features or more complex setups.
Electronic speed controllers (ESCs) sit between the flight controller and the motors. Each ESC gets signals from the controller and feeds just the right amount of power to its motor.
You’ll need one ESC for every motor, so on a quadcopter, that’s four. No way around it.
Individual ESCs work, but 4-in-1 ESC boards make things tidier. They cram all four ESCs onto a single board, which really helps cut down on wire clutter.
That said, always check the ESC’s current rating. It should be higher than what your motors pull at full throttle—otherwise, you risk frying something.
The power distribution board (PDB) splits battery juice to all the components. Some flight controllers have a built-in PDB, which is a nice bonus and saves a bit of space.
If you don’t have a built-in one, you’ll need to mount a separate PDB and solder your ESCs, controller, and camera to it. Double-check the voltage ratings so your PDB can handle your battery’s output.
Battery Selection and Power Systems
LiPo batteries are basically the go-to for custom drones. They’re compact and hold tons of energy for their size.
Battery voltage dictates how much power your motors get. Most builds use 3S (11.1V) or 4S (14.8V) LiPo packs, but racing quads sometimes go all out with 6S (22.2V) for that extra punch.
Higher voltage means faster spinning motors, but you’ll chew through the battery quicker—and these packs cost more. I always match voltage to my motor’s specs and what I actually want out of the drone.
Battery capacity, measured in milliamp hours (mAh), affects flight time and weight. A 1500mAh battery is lighter but won’t last as long as a 2200mAh one.
I try to balance capacity and weight based on whether I want longer flights or better agility. Racing drones usually run smaller, lighter batteries for speed, while camera drones need bigger packs to stay in the air longer.
LiPo batteries can be a bit finicky. I store them at about 3.8V per cell when I’m not flying, and I never let them drop below 3.0V per cell mid-flight—otherwise, they’re toast.
Always use a LiPo-compatible charger, and honestly, don’t leave them charging unattended. It’s just not worth the risk.
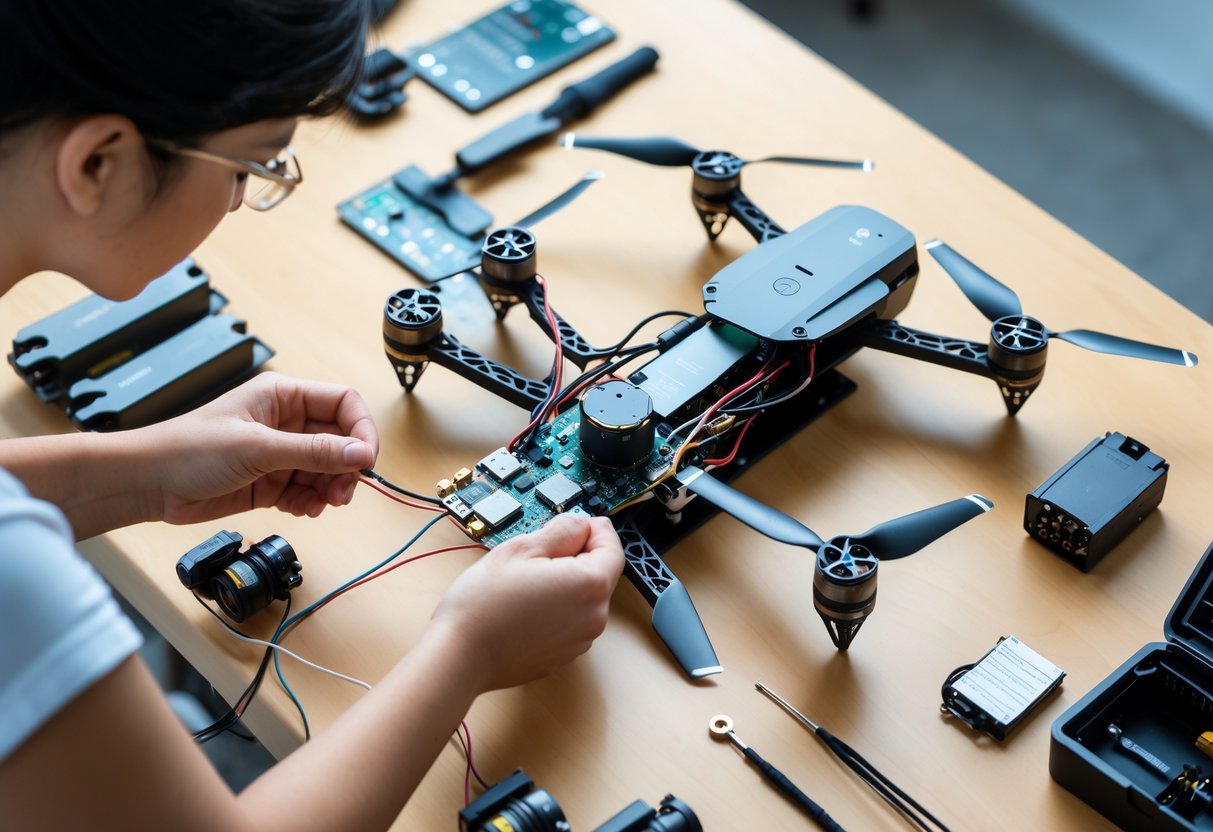
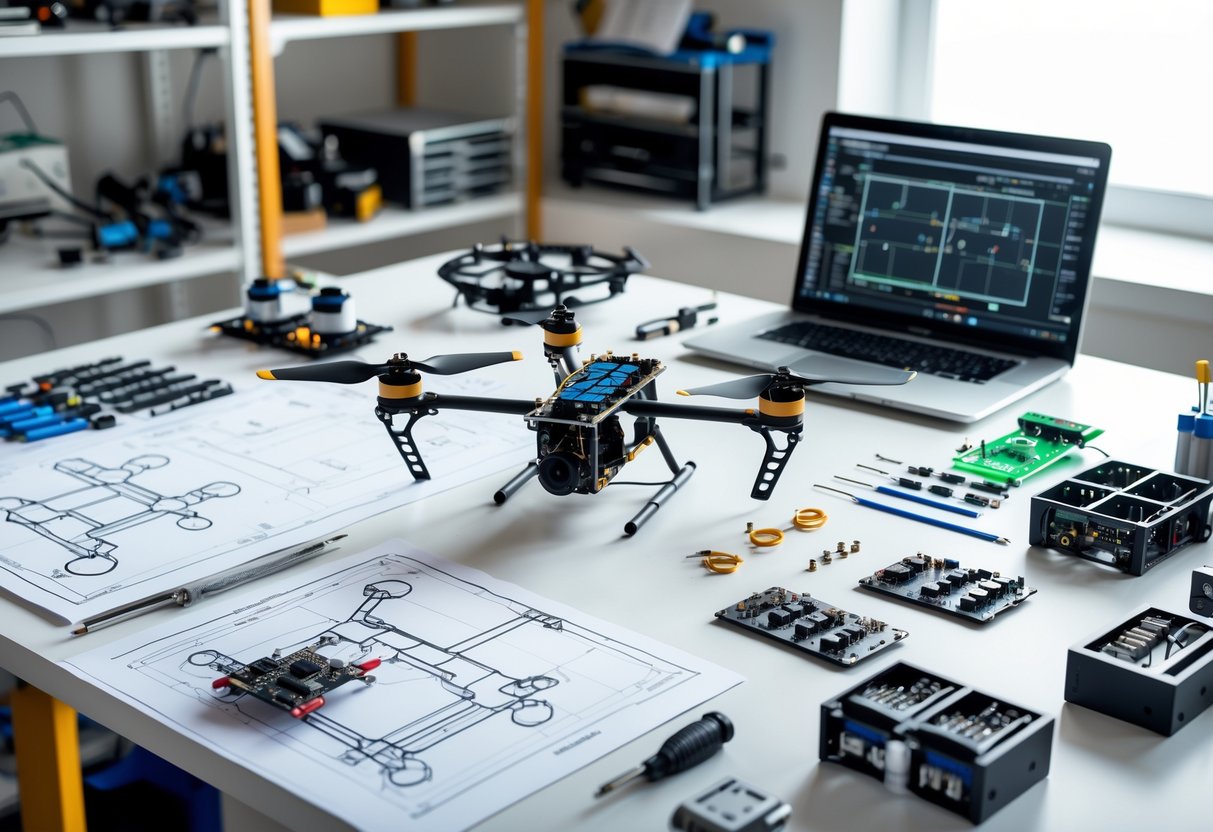
How to Build a Drone: Drone Assembly and System Integration

Building a drone isn’t just snapping parts together. Each component has to connect just right, or you’ll end up with headaches later.
Proper motor mounting stops vibrations, clean soldering keeps power flowing, and neat wiring keeps your electronics safe when you’re actually flying.
Frame Construction and Assembly Tips
I lay out all the frame arms and check them for cracks or any weird damage. Carbon fiber is light and strong, but if you overtighten screws, it’ll crack.
When I’m piecing together the frame, I pay attention to which way the arms face. Most have little arrows or marks—ignore these and you’ll confuse your flight controller.
Threadlocker on the screws is a must. Motor vibrations will shake screws loose over time if you skip this step.
I tighten everything firmly, but not so hard that I crush the carbon fiber. It’s a delicate balance.
The center plates need to clamp together with enough space for the flight controller and other electronics. I use nylon standoffs for this—they make a decent buffer against vibrations too.
Motor Mounting and Propeller Installation
Motors go on the frame arms using the screws they come with. Each motor has four holes that should line up with the arm’s holes.
I make sure the wires face toward the center of the frame, just to keep things tidy. Before tightening, I check that the motor is flush—any gaps can cause nasty vibrations.
I put a dab of threadlocker on each screw and tighten them in a cross pattern. It’s a bit tedious but worth it.
When it comes to propellers, I check which are clockwise and which are counterclockwise. They’re usually marked, but if not, it’s trial and error.
Two motors spin clockwise, two counterclockwise—that’s what keeps the drone balanced. I never force props onto the motor shaft; they should slide on and lock with a nut or press-fit adapter.
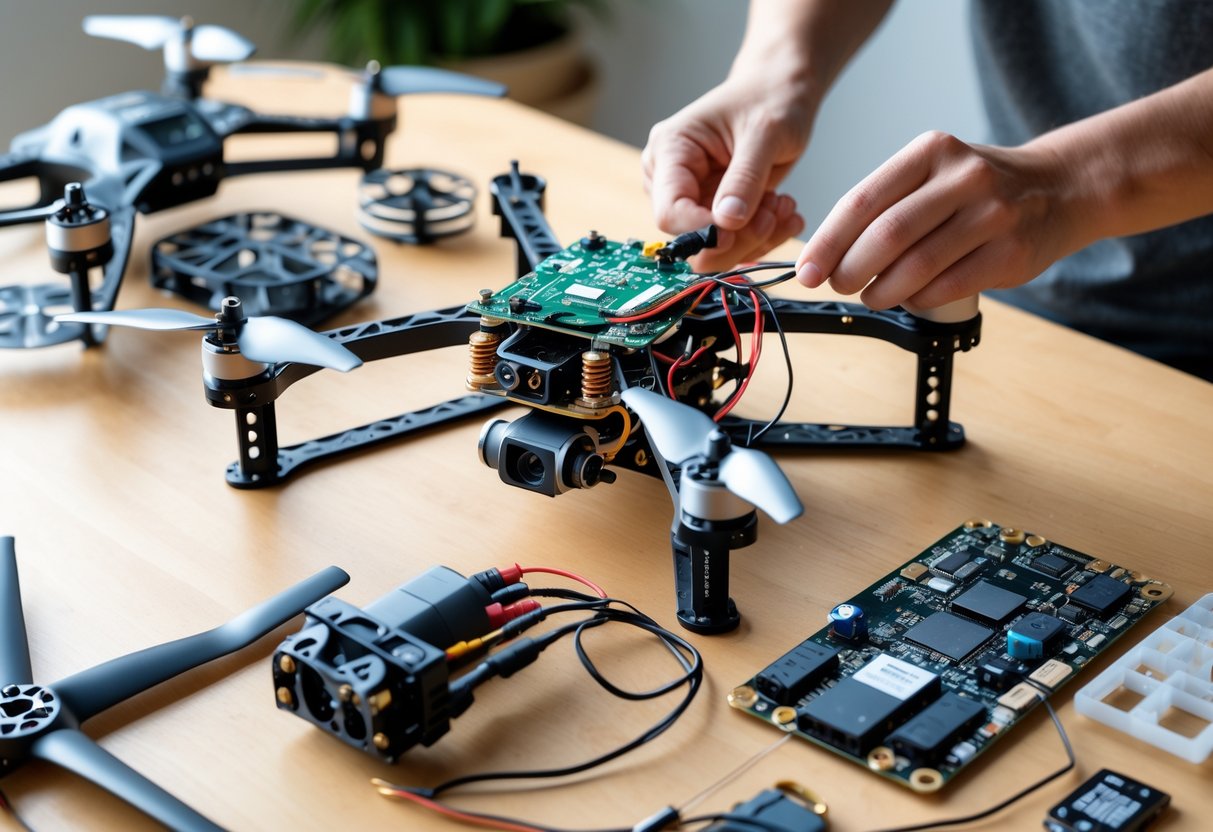
Wiring Electronics: ESCs, Flight Controller, and PDB
The power distribution board (PDB) sits in the frame’s center and splits battery power to all four ESCs. I solder the battery connector to the PDB first, using a hot iron (about 700°F) for clean joints.
Each ESC needs three wires to its motor and three signal wires to the flight controller. I keep these short to cut down resistance. The signal wires are what tell each motor how fast to spin.
Before connecting the battery, I always use a multimeter to check for shorts. I test between the positive and negative pads on the PDB—if everything’s right, I should see infinite resistance.
Some flight controllers have a BEC that spits out 5V for receivers and accessories. I double-check the voltage with my multimeter before hooking up sensitive gear.
Integrating the Battery and Power Testing
I use XT60 or XT30 connectors depending on my drone’s power needs. Before plugging in, I check polarity—get this wrong and you’ll fry your electronics instantly.
With the battery connected (props off, always), I use a multimeter to check voltage at different points. The battery voltage should match what I see at the PDB input, and the BEC should be spot-on at 5V.
I test each motor in the flight controller software. Each one should spin the right way and respond smoothly to throttle. If a motor spins backward, I just swap any two of its three wires.
Power testing helps me catch weak solder joints or loose wires before they become disasters. I gently wiggle each wire while powered up and watch for flickers or disconnects.
How to Build a Drone: Software Setup, Calibration, and First Flight
Getting airborne means installing firmware and calibrating all your sensors. Here’s how I set up open-source flight software, calibrate sensors like the barometer and GPS, and prep for a first test flight.
Flashing and Configuring Open-Source Firmware
I usually start with open-source firmware—Betaflight for racing or freestyle, ArduPilot if I want autonomous features, or INAV for good GPS support.
To flash firmware, I connect the flight controller to my computer with USB. I download the right configurator, pick my board, and hit the update button. It only takes about half a minute.
After flashing, I set the board orientation, receiver protocol (SBUS, PPM, or CRSF), and tweak channel mapping to match my radio. I set up switches for arming and flight modes.
How to Build a Drone: Sensor Calibration and Flight Modes
Calibration is crucial. I put the drone on a level surface and run the accelerometer calibration—it takes maybe 10 seconds.
Next, I do the magnetometer by slowly rotating the drone as prompted. If I’m using GPS, I let it get a good lock first. Barometer calibration usually happens automatically.
I set up these flight modes:
- Stabilize/Angle Mode: Drone self-levels automatically
- Acro Mode: Full manual, no self-leveling
- Position Hold: Uses GPS to stay put
- Return to Home: Flies back to launch point
I assign each mode to a transmitter switch and always test switching before flying.
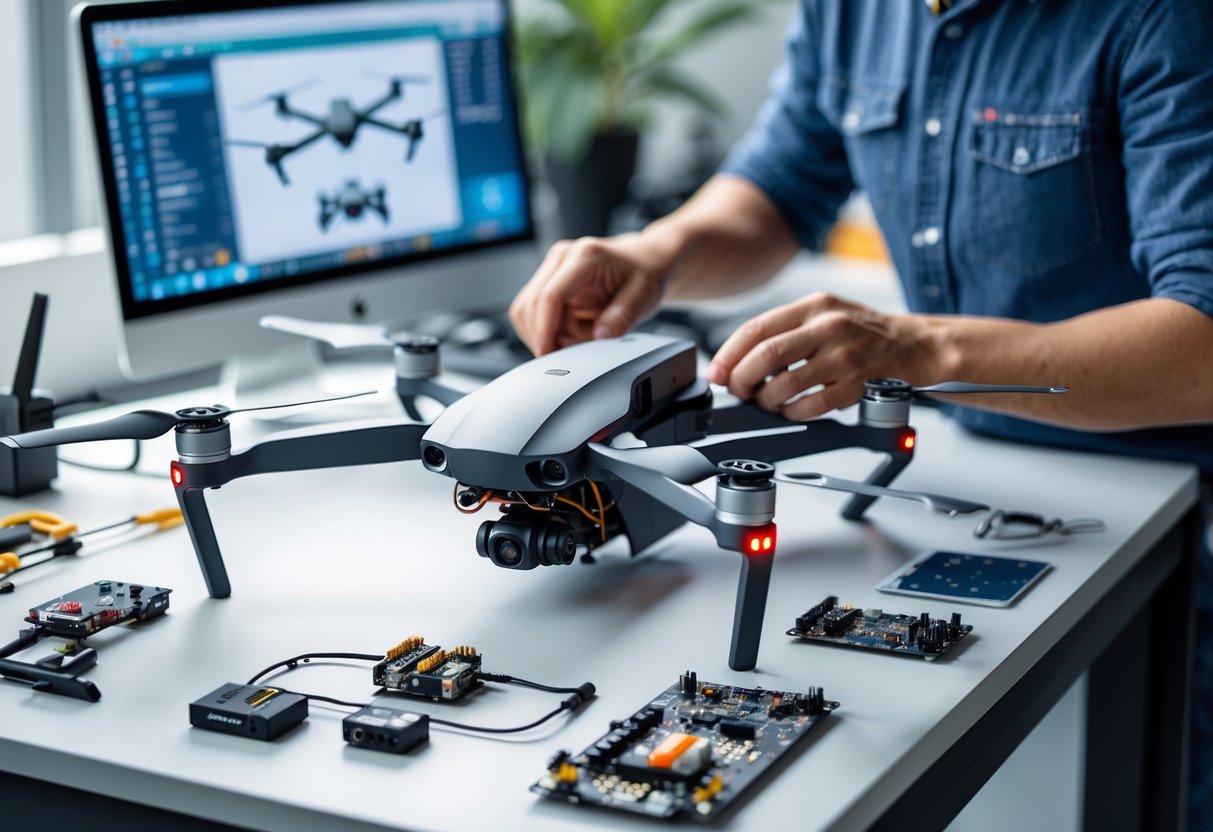
Testing, Troubleshooting, and Maiden Flight
I start testing with no props. I arm the drone and gently raise the throttle to check all motors spin the right way. If one’s backward, swapping any two wires fixes it.
Once props are on, I do a tethered test—secure the drone, ease up the throttle, and watch for weird vibrations or behavior. I check telemetry in the configurator to make sure it’s all talking.
For the maiden flight, I pick a wide-open spot, check every connection and battery voltage, then arm in stabilize mode. I lift off slowly and just hover, making tiny control inputs to see how it responds. I keep the first flight short—maybe 30 seconds—then land and inspect everything.
How to Build a Drone: Enhancements, Upgrades, and Advanced Features
After building a basic drone, I’d focus on three upgrades: FPV systems for real-time video, GPS modules for navigation and safety, and autonomous flight for stuff like mapping or automated missions.
Adding FPV Systems and Cameras
Honestly, adding FPV is one of the most exciting upgrades you can do. It’s wild seeing what your drone sees, live, through goggles or a screen.
For a basic FPV setup, you’ll need three things:
- FPV cam – a small camera mounted on the drone
- Video transmitter (VTX) – sends the video signal
- FPV goggles or monitor – for viewing the feed
I usually start with a 600TVL camera for practice. Analog FPV systems have lower latency than digital—super important for fast flying.
When picking an FPV system, I look at the video frequency. 5.8GHz is the standard and works well with little interference, but always check local rules—some frequencies need a license.
Camera and gimbal upgrades are a game-changer for aerial photography. I’ll mount a separate action cam on a gimbal for smooth, high-quality footage—even when I’m flying like a maniac.
How to Build a Drone: Integrating GPS and Telemetry Modules
GPS modules are a game-changer for advanced flight modes and safety. I usually add one after my basic drone is flying pretty reliably.
With GPS, I get some really useful features:
- Return to home – The drone flies itself back to where it started
- Position hold – It just stays put, no drifting
- Waypoint navigation – Follows a set path I program in advance
- Altitude hold – Keeps the same height above ground
I like to mount the GPS high up, usually on a mast above the frame. Keeping it away from other electronics seems to help with signal and cuts down interference.
Most flight controllers have a special spot for GPS. Makes wiring less of a headache.
Telemetry is another must-have for me. It beams real-time data from the drone straight to my ground station.
I can watch battery voltage, GPS location, altitude, and speed while flying. It’s honestly saved my drone from disaster a couple of times.
I pick telemetry modules that match my radio system. FrSky works well with Taranis, and ExpressLRS is great for long range.
The combination of GPS and telemetry really boosts both navigation and safety.
Exploring Autonomous Flight and Computer Vision
Autonomous flight is where drones start to feel like magic. I use ground station software like Mission Planner or QGroundControl to program missions.
Setting waypoints on a map is surprisingly satisfying. The drone just follows the plan, and I mostly just watch and hope nothing weird happens.
This sort of setup is perfect for mapping, inspections, or getting that smooth, cinematic video.
Adding computer vision takes it up another notch. I’ll hook up a camera to a Raspberry Pi or Jetson Nano—those little boards are powerful enough for basic vision tasks.
They can run code to spot objects, follow things, or dodge obstacles. It’s wild how much you can do with the right software.
Some basic computer vision tricks:
- Object detection and tracking
- Optical flow for estimating movement
- Visual obstacle avoidance
- Landing pad recognition
Honestly, I start simple—color detection or tracking a ball—before I try anything fancy. OpenCV is my go-to library. It works with Python, and there’s a ton of info out there if I get stuck.
For autonomous flight paths, I make sure my drone’s processor can handle the extra load. Computer vision eats up resources fast.
I also add obstacle sensors just in case. No one wants their drone to crash mid-mission.
How to Build a Drone – FAQs
Building a drone means gathering parts like motors and a flight controller, then putting everything together step by step. How much you save really depends on the components you pick, and the rules you’ll need to follow change based on where you live and what kind of drone you’re building.
1. What are the essential components required to build a drone with a camera?
To build a camera drone, I start with a frame. It can be wood, plastic, or metal—whatever fits my budget and skill level.
For a quadcopter, I need four brushless motors and four ESCs. Propellers need to fit the frame—9-inch props are pretty standard for most builds.
The flight controller is the brains of the whole thing. It keeps the drone steady and listens to my commands.
A power distribution board connects the ESCs to the battery. I almost always use Li-Po batteries for drones.
For the camera, I pick one that records video and use a USB stick or memory card for storage. A gimbal is nice for smoother video but not always required.
I’ll need connectors—3.5mm for motors and ESCs, 4.5mm for the power board. Zip ties are my best friend for keeping things in place. A battery monitor helps keep an eye on power mid-flight.
2. What are the step-by-step instructions to construct a drone from scratch?
I usually start with the frame. If I’m building from wood, I cut two laths—60cm by 30mm—and cross them to make an X.
Next, I drill holes in the arms where the motors will go. The holes have to line up with the motor mounts.
I bolt the motors down tight. Don’t want anything coming loose in the air.
ESCs get zip-tied underneath the frame. This keeps the top open for the flight controller and wiring.
Landing gear is next. I’ve used pipe rings, flexible plastic, even duct tape—whatever cushions the landing works.
The flight controller sits in the center, secured but not rigid—some vibration is normal, but too much can mess with sensors.
Motors connect to the ESCs, then ESCs to the power distribution board. It’s a lot of wires, but it’s manageable with some patience.
I hook up the battery and the RC receiver. The receiver talks to my transmitter so I can control the drone.
Finally, I run through the flight controller’s setup and calibration. This step is crucial—if the motors spin the wrong way, things get exciting fast.
3. How can one make a drone for a school project, including a camera option?
For a school project, I’d build a simple quadcopter. It’s the easiest style for beginners to handle.
The frame can be thin wood or plastic—something light and easy to cut. Four arms in an X pattern, nothing fancy.
Brushless motors and matching ESCs are a must. I buy them online, since making them from scratch isn’t really practical.
For a camera, I’d use a small action cam or even a smartphone camera module. Mounting it in the center with a basic bracket does the trick.
Basic flight controllers are available with setup wizards. Some walk you through the whole process, which is great if you’re new to this.
Pick a small Li-Po battery that matches your motors. Don’t forget a charger and a battery monitor—running out of juice mid-flight is no fun.
I follow the usual build steps, then test the drone outside. For school, I’d take photos and write notes during the process—it helps with the project report and troubleshooting.
4. Is it more cost-effective to build a drone yourself rather than purchasing one?
Building my own drone can be cheaper, but it really depends on what I want. If I stick with basic parts and a simple design, I’ll probably spend less than buying a ready-made quadcopter.
But if I want GPS, a fancy camera, or pro-level flight controllers, the costs add up fast. Store-bought drones sometimes pack a lot of features for the price.
I save the most if I already have tools like a soldering iron and screwdrivers. Buying all the gear for just one build can make it less of a bargain.
Honestly, the biggest payoff is customization and learning. I get to pick every part and upgrade whenever I want.
Knowing how it all works helps a ton with repairs. Fixing things myself is way cheaper than sending it out for service.
If I just want to fly or take photos, buying a drone is usually easier and sometimes even cheaper. But for tinkerers and folks who like to learn by doing, building is worth every penny.
5. What are the regulations surrounding the construction and operation of DIY drones?
Turns out, DIY drones have to follow the same rules as commercial drones in the U.S. If your drone weighs more than 0.55 pounds (250 grams), the Federal Aviation Administration (FAA) wants it registered.
Registration needs to happen before your drone’s first flight if it crosses that weight limit. You’ll have to give your contact info and pay a small fee—it’s not a huge hassle, but it’s there.
For recreational flying, there are a few non-negotiables. You can’t go above 400 feet, and you need to keep the drone where you can actually see it.
Flying near airports or emergency scenes is a big no. That’s just asking for trouble anyway.
Don’t fly over people or moving cars unless they’re part of your drone operation. And manned aircraft? Always let them go first.
If you’re thinking about making money—maybe taking photos or doing inspections—you’ll need a Part 107 Remote Pilot Certificate. That means passing a knowledge test from the FAA, so it’s not just a formality.
Local rules can get in the way, too. It’s smart to check city and state regulations before you launch somewhere new.
Building a drone with special features, like certain radio frequencies, might mean extra hoops. The FCC could require approval for those components, which is something to keep in mind if you’re getting fancy.